
You’ve decided to change out your light switch. Maybe you want to upgrade from toggle switch to decorator style. Maybe your light switch doesn’t match the new color of your walls and you just want a better color match. Perhaps the switch simply stopped working and you’ve already ruled out the light bulb as the culprit. For whatever reason, swapping out the old light switch to a new light switch is your next order of business.
Electrical work of any kind can seem complicated and intimidating. In most cases it’s recommended to hire a certified electrician to take care of all your electrical work. However, sometimes a simple light switch replacement can be done on your own with the right tools and the right instructions.
Before any and all electrical work, be sure to shut off power at the breaker. Hopefully your switches are labeled but just to be sure, have a voltage tester handy.

Let’s assume you’re changing out a single-pole light switch. A single pole light switch is the sole controller of a single light. (Not to be confused with a three-way switch, a setup where two different light switches can control the same light. You’ll find this in larger rooms where there may be two entrances and a light switch at either entrance. Or at both ends of a hallway, or at the top and bottom of a staircase.)
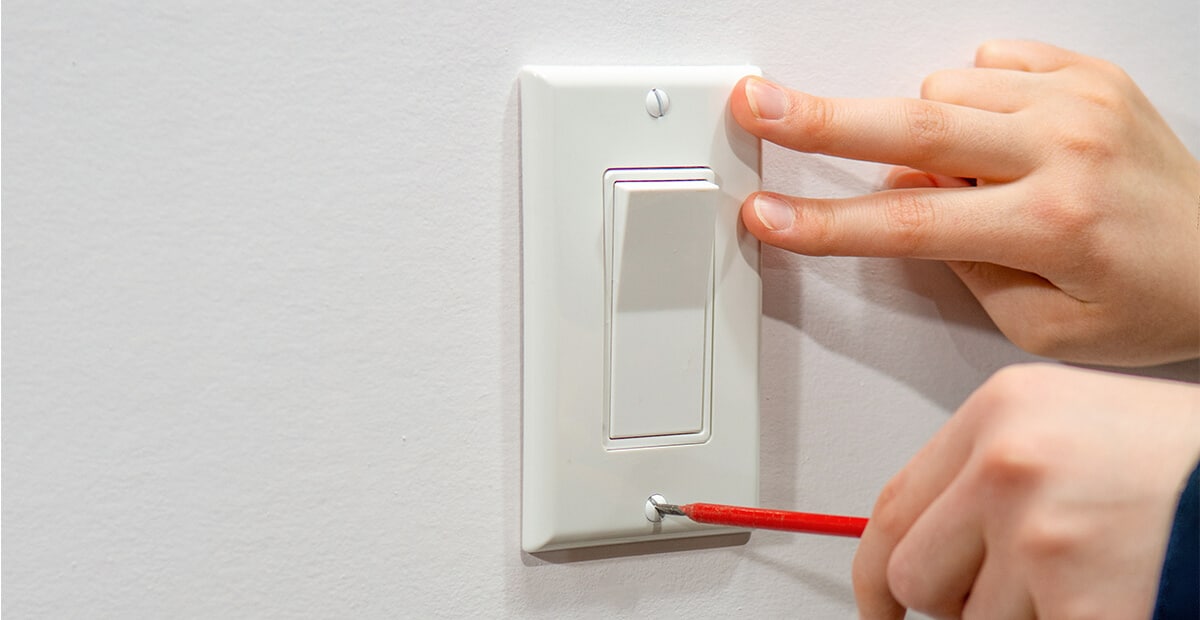
After you’ve turned off power to the switch, remove the wall plate, also known as a switch plate. To be extra safe and extra sure that the power is off, use a voltage tester and check each wire. Once the coast is clear, use a screwdriver to unscrew the switch from the electrical box. Pull the switch out gingerly, as there are wires attached.

You should see three wires attached to the switch, two on one side and one on the other. The two wires on one side are black and they are wrapped around brass screws. The other wire is green or copper, and it’s attached to a green screw. (It’s possible the switch has push-in connectors and the wires are attached using these connectors. If this is the case use a screwdriver to push-release the wires.) Carefully release all the wires. You might need to use a screwdriver to loosen the screw, and then unwrap the wire from the screw. Try to remember the configuration.
Your new light switch should have the same arrangement of screws. Attach the wires to the new light switch in the same configuration as the old one by wrapping exposed wire around each screw. You might need to use wire strippers to expose enough wire to wrap securely around the screws. Using a screwdriver, tighten each screw. Make sure the wire is wrapped in the same direction that the screw moves to tighten. Push all the wires carefully back into the electrical box, and screw the light switch back into place. Then replace the wall plate and turn on the power at the breaker.