
Installing an outlet might seem like a daunting task, especially if you’re unfamiliar with the ins and outs of electrical systems. But rest assured, by the end of this guide, you’ll be equipped with the knowledge and confidence needed to safely install an outlet in your own home.
Lider aims to provide a stress-free experience for our customers, which is why our devices are easy to install and why we provide resources such as this blog. Lider’s Guide Light Receptacle is an innovative device with a useful guide light, however, it is as simple to install as any other outlet.
The following instructions are for replacing an outlet that already has the necessary electrical cables running through the wall cavities. When in doubt, always call a professional.
Let’s get started:
Step 1: Safety First
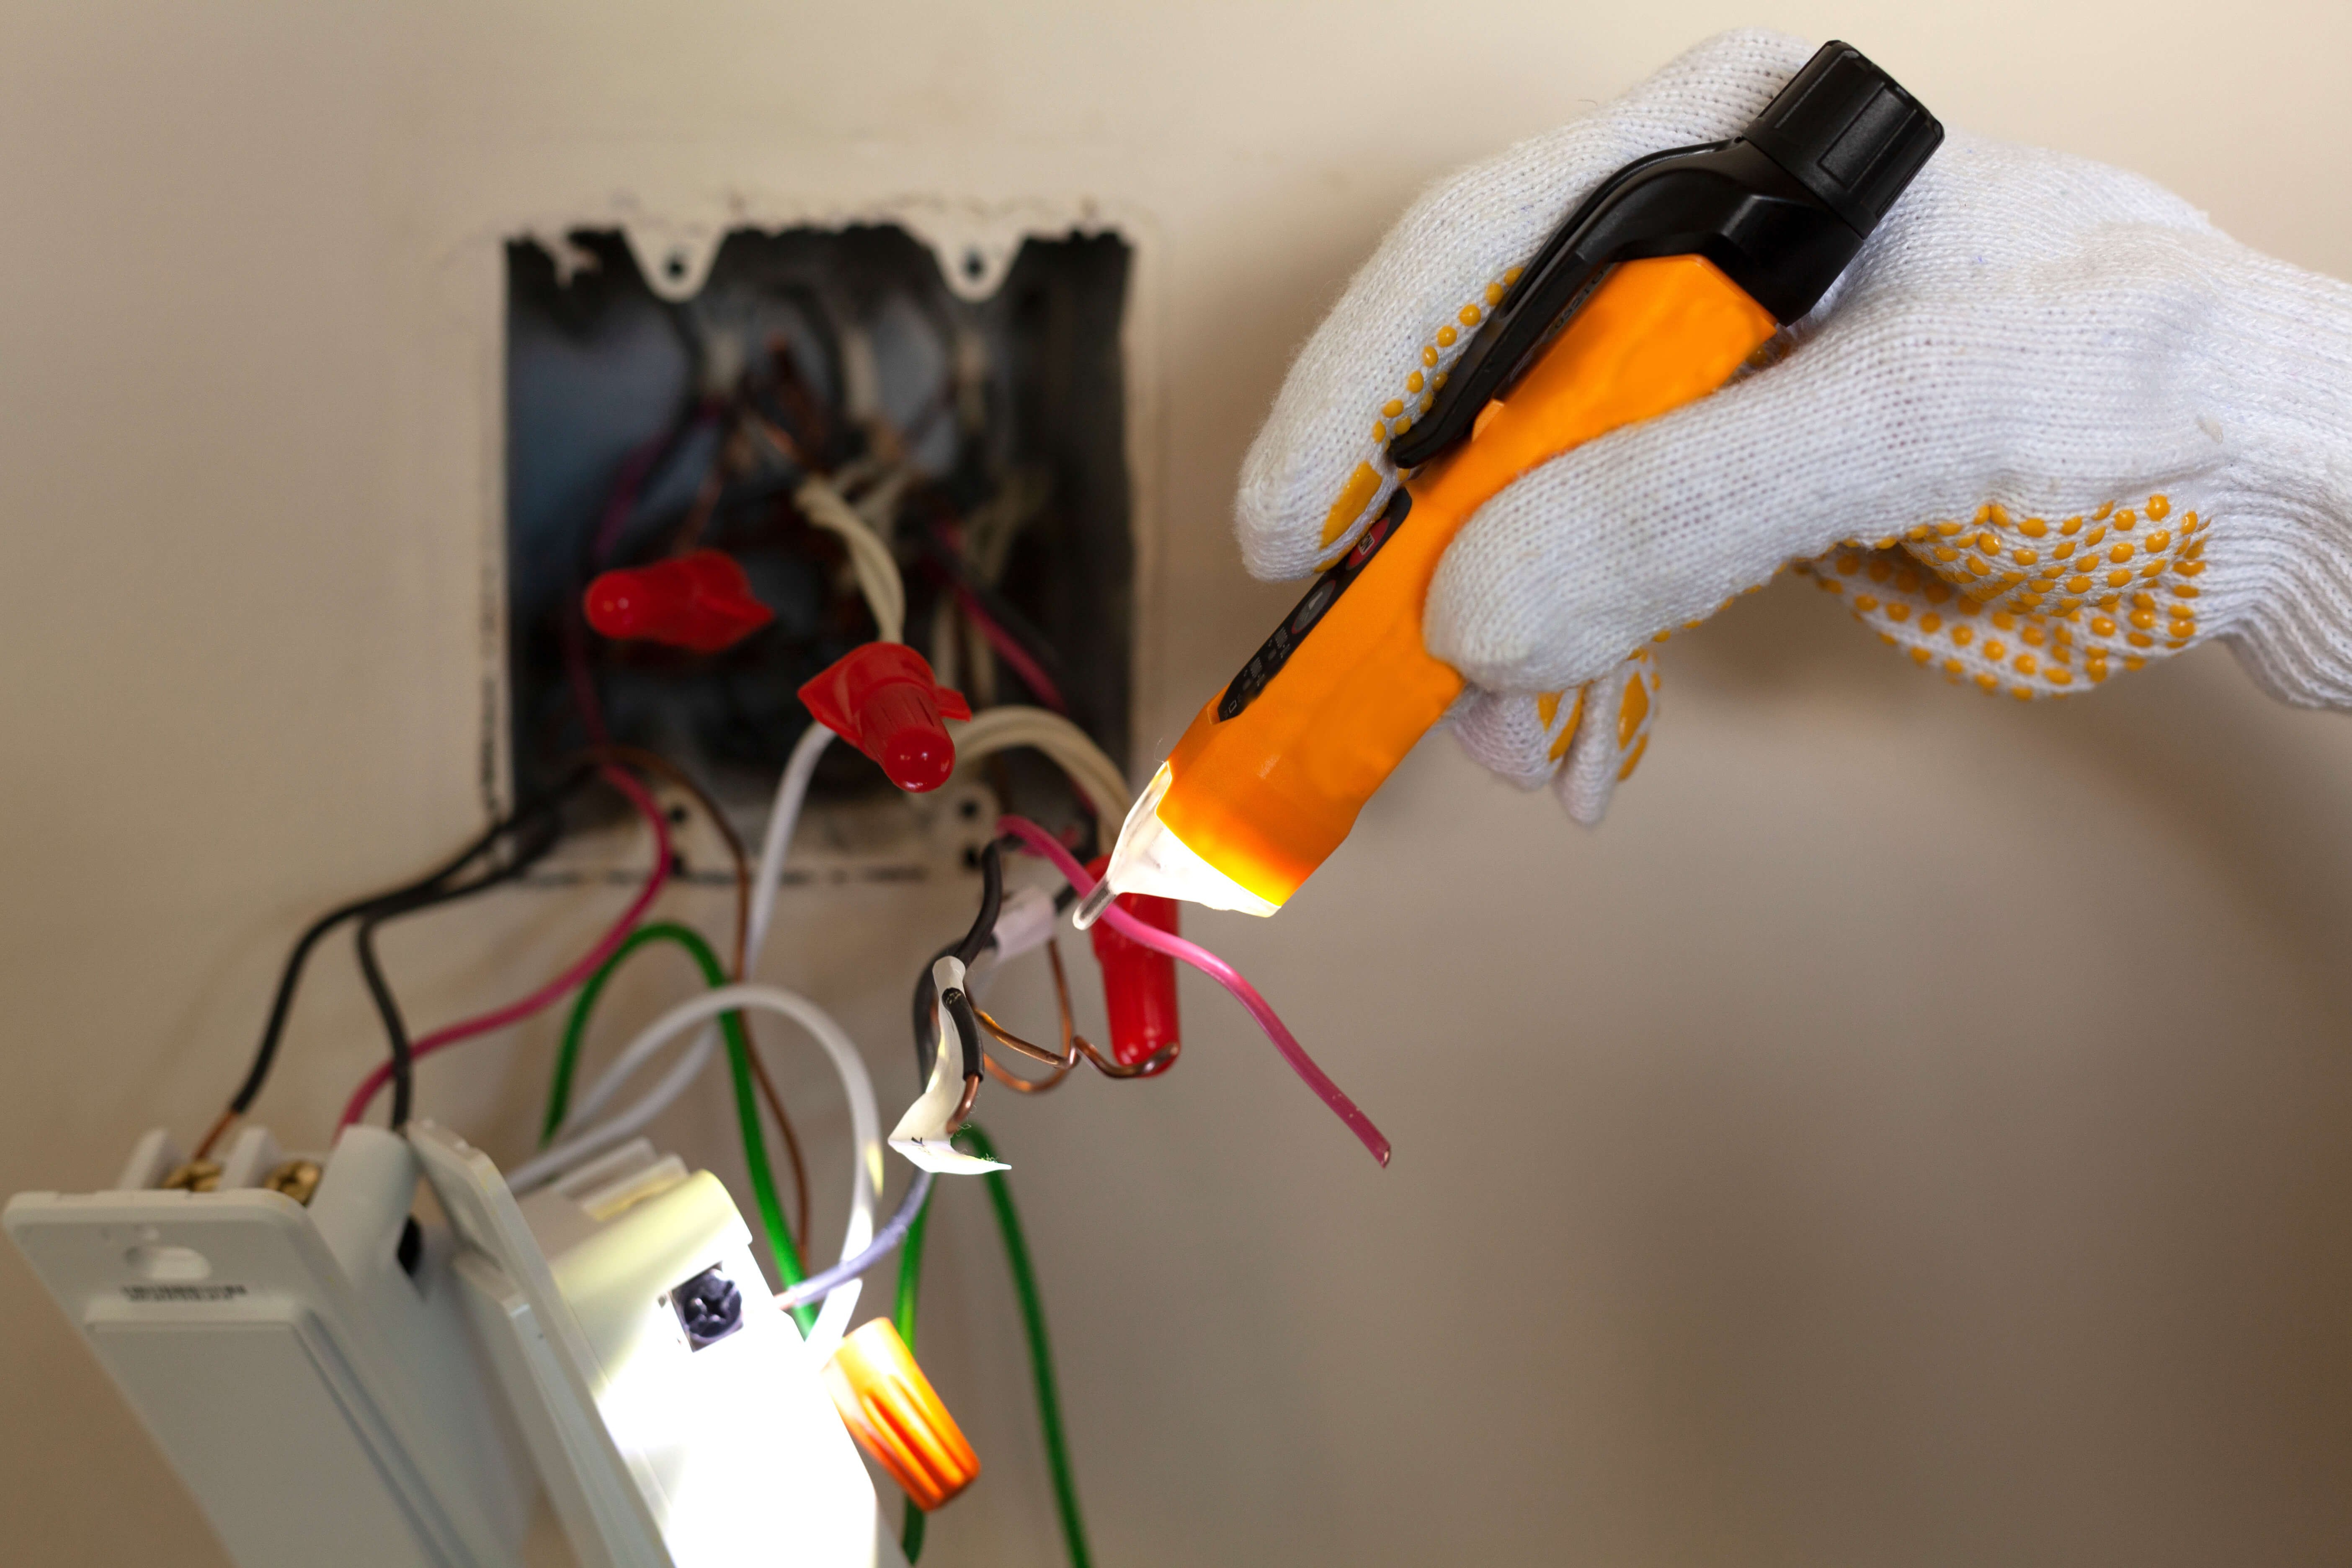
Before you even think about installing an outlet, it’s essential to ensure you’re not putting yourself in harm’s way. Always turn off the electricity at your main breaker panel for the circuit you’ll be working on. Use a voltage tester to make sure there’s no power running to the location where you’ll be installing the outlet.
Step 2: Gather Your Tools and Materials
You will need the following items for this project: a new Lider outlet (also known as a receptacle), a screwdriver, a pair of wire strippers, a voltage tester, needle-nose pliers, and of course, the appropriate wiring. If you’re replacing an old outlet, make sure to purchase a new one that matches the amperage of the old one.
Step 3: Remove the Old Outlet, Attach the Wires to the New Outlet
Remove the old outlet from the wiring using the pliers and screwdriver to unwrap the wiring from the device.
Now, it’s time to attach the wires to the correct terminals on the outlet. The black (hot) wire goes to the brass screw, the white (neutral) wire goes to the silver screw, and the ground wire goes to the green screw on the top. Make sure you’re tightening the screws well so the wires are secure.
Step 4: Secure the Outlet to the Box
After the wires are attached, gently push the outlet into the box, taking care not to dislodge the wires. Use the screws provided with the outlet to attach it to the box.
Step 5: Attach the Wall Plate Cover
Once the outlet is securely in place, attach the outlet cover using the screws provided.
Step 6: Turn the Power Back On
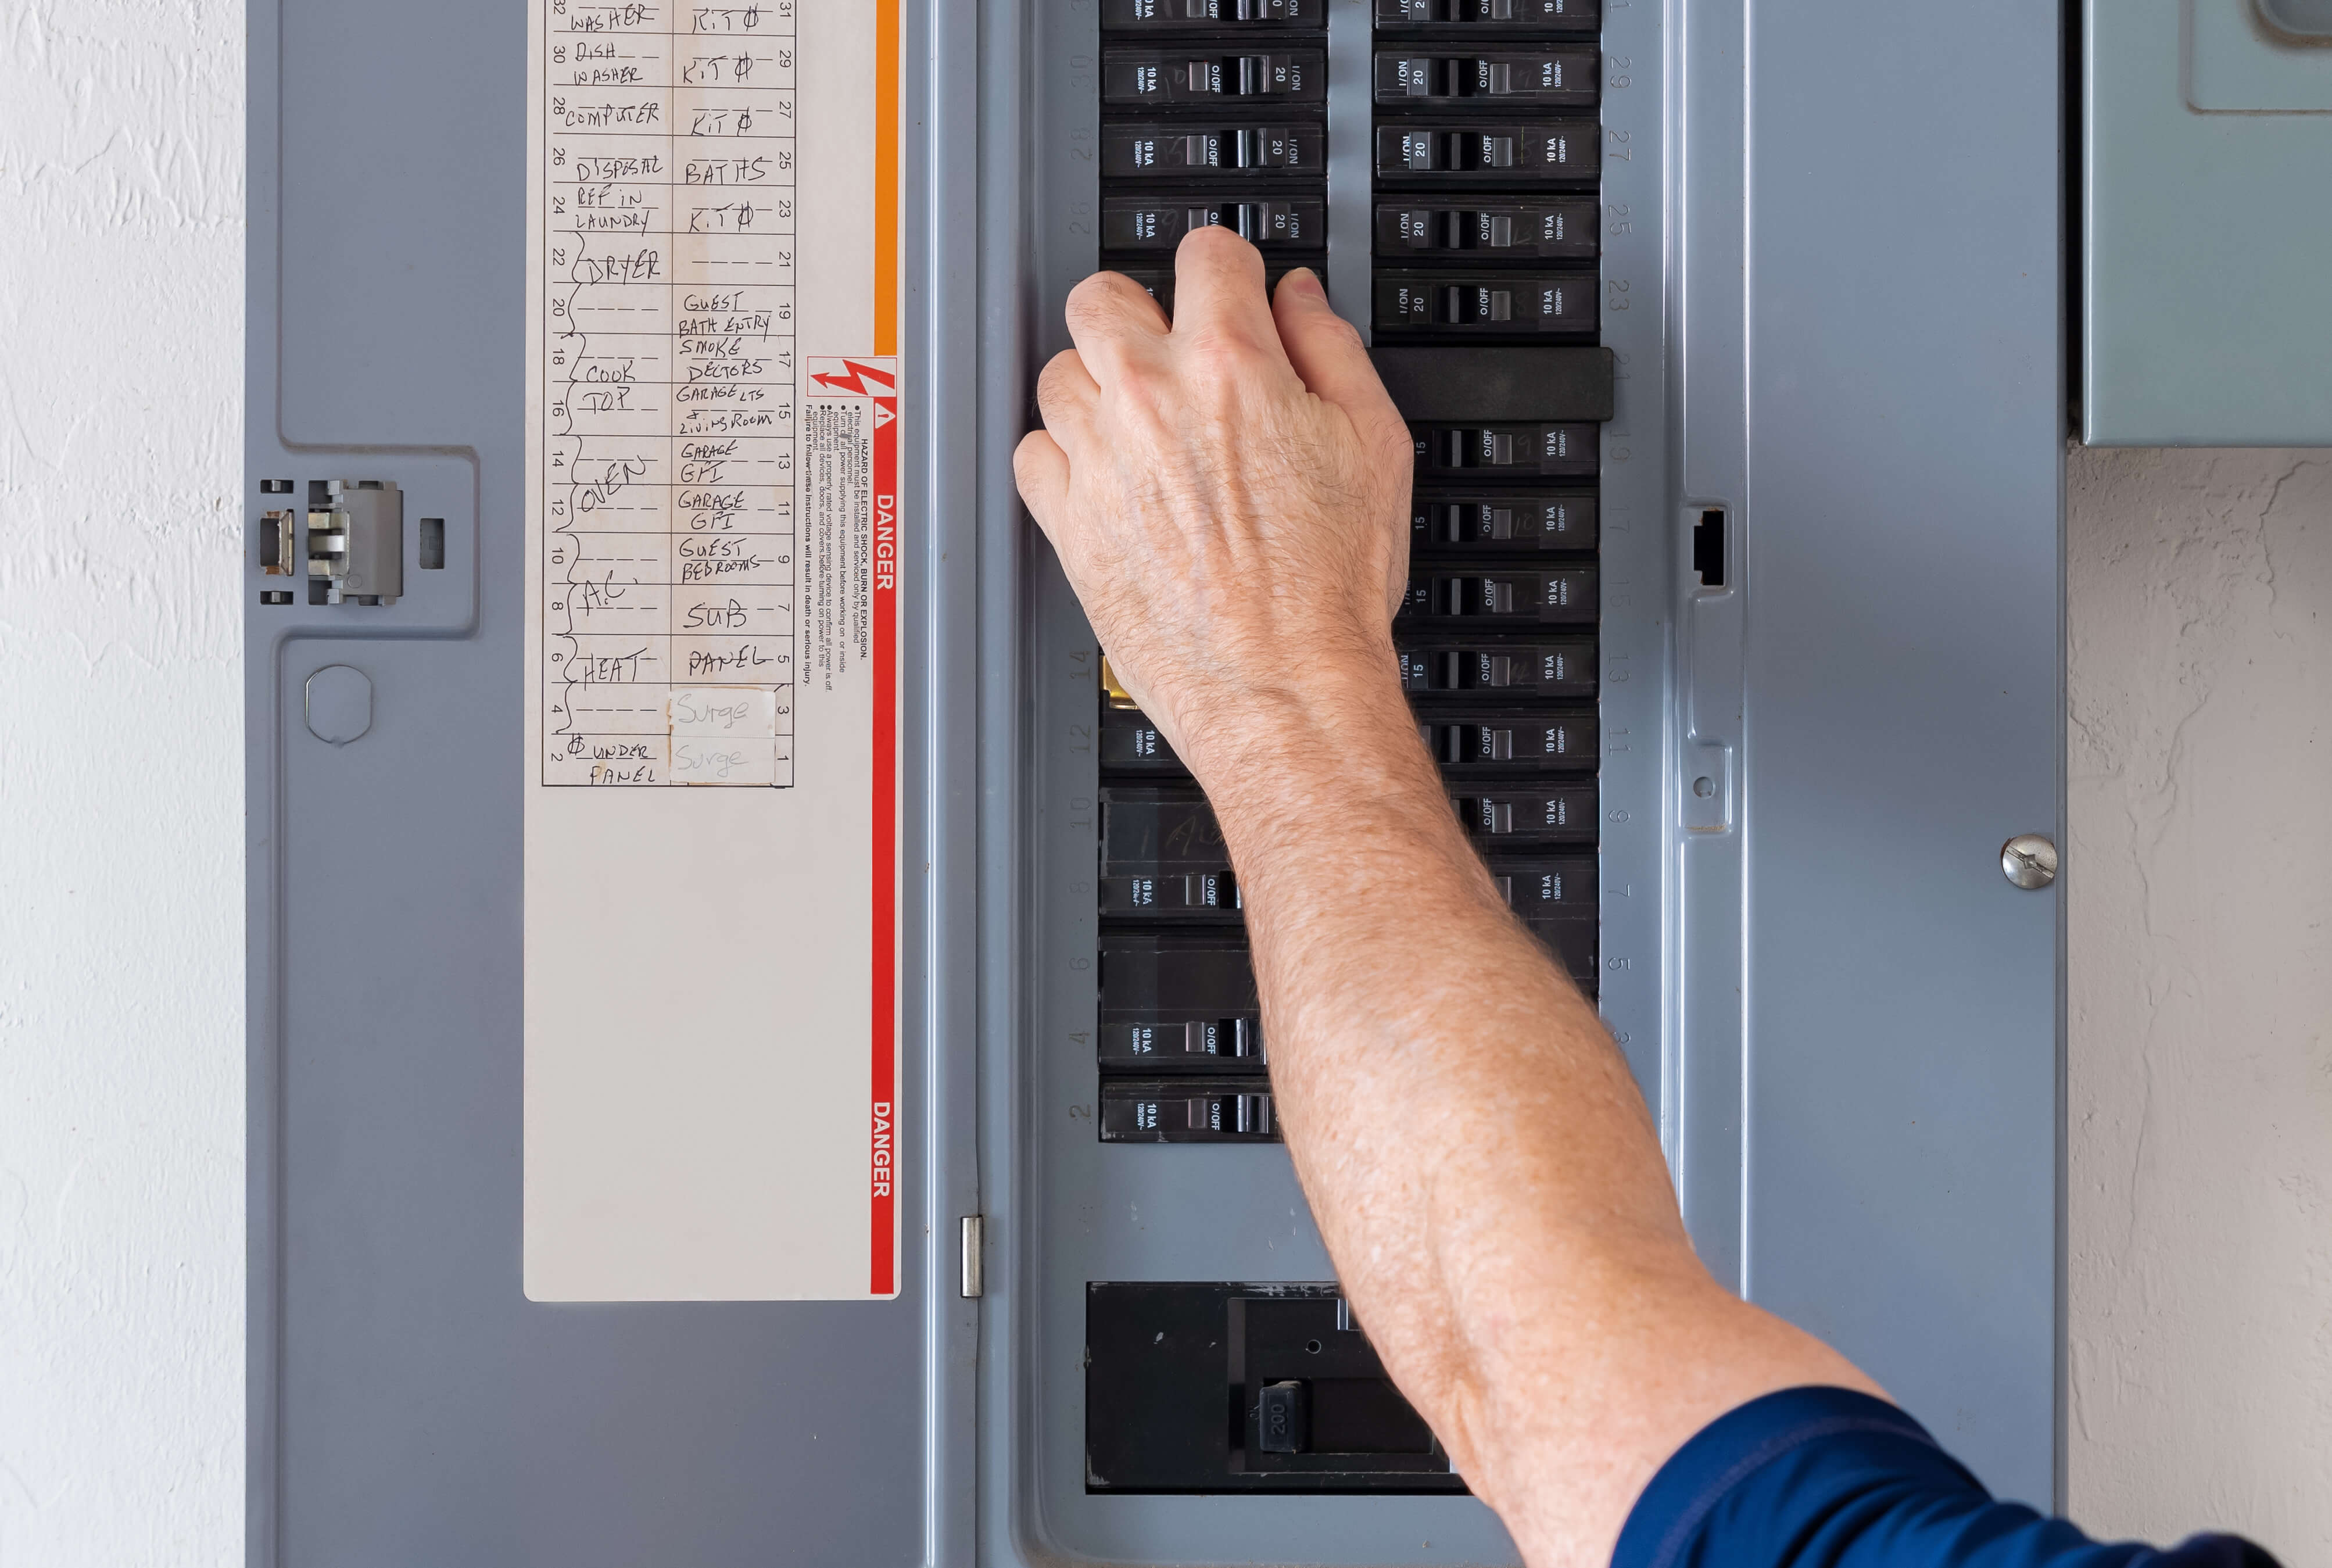
Finally, return to the main circuit breaker and restore the power to the circuit. Test your new outlet with a lamp or small appliance to ensure it’s working correctly.
Remember, while DIY projects can be satisfying and cost-effective, working with electricity can be dangerous if you’re not careful. If at any point you feel uncomfortable with the process or encounter something unexpected, don’t hesitate to call a professional electrician.
Stay safe, have fun, and happy DIY-ing!